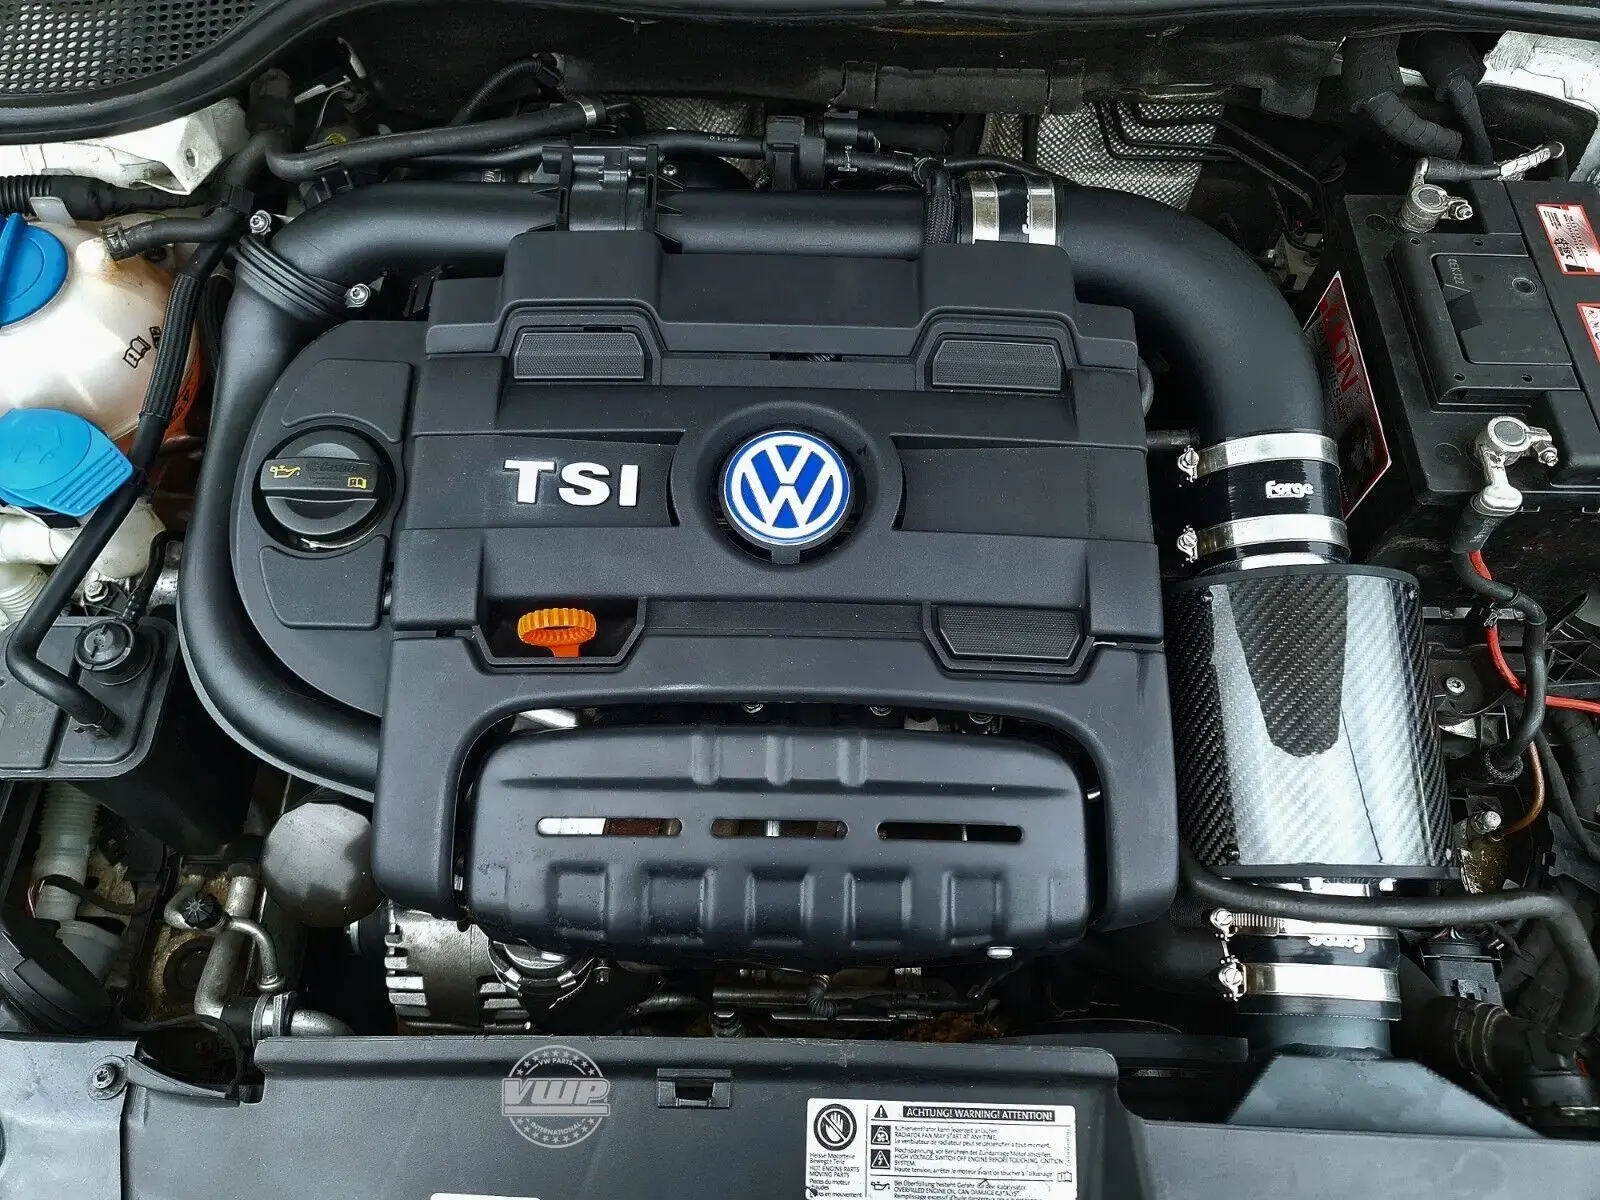
What is an Air Intake Induction Kit, and Why Should You Install One?
Your car’s stock air intake system is designed to be cost-efficient and meet general standards, often sacrificing performance for mass production. By swapping it out with an aftermarket air intake induction kit, you’re replacing restrictive factory parts with components that maximize airflow to your engine. The result? Improved combustion, better power output, and even enhanced fuel efficiency. It's a win-win for your car’s performance and your driving experience.
Tools You’ll Need
Before diving in, gather the essential tools to avoid interruptions:
- Screwdrivers
- Socket set
- Wrenches
- Pliers
Also, ensure you’ve got the right induction kit for your vehicle’s make and model. Familiarize yourself with the included manufacturer’s instructions, as they often provide tips specific to your setup.
Step 1: Prep Your Workspace
Park your car on a level surface and let the engine cool down completely.
Disconnect the negative terminal of your battery for safety.
Lay out all tools and components for easy access.
Having a clean, organized workspace makes the process much easier.
Step 2: Remove the Factory Air Intake System
Locate the stock air intake: Typically found in the engine bay, it consists of an airbox, intake hose, and air filter.
Remove components carefully: Use the appropriate tools to unbolt and detach these parts. Be mindful of any sensors, hoses, or connectors attached to the airbox.
Set aside stock parts: You might want to keep them for resale or revert to stock in the future.
Step 3: Install Your New Induction Kit
Position the intake pipe: Align the new pipe with the throttle body and any mounting points. This step is crucial for a proper fit.
Secure the pipe: Use the provided brackets or clamps to fasten it in place. Double-check that it’s snug but not overtightened.
Attach the air filter: Mount the filter onto the end of the intake pipe, ensuring a secure fit to prevent air leaks.
Step 4: Reconnect Sensors and Hoses
Reattach disconnected parts: This might include the mass airflow sensor, breather hoses, or vacuum lines.
Double-check connections: Ensure everything is properly seated and free from damage or obstructions.
Step 5: Final Inspection and Test
Inspect your work: Verify that all components are securely installed, and connections are tight.
Reconnect the battery: Reattach the negative terminal.
Start the engine: Listen for any unusual noises or signs of air leaks. Let the engine idle for a few minutes, then give it a light rev to ensure everything is functioning as expected.
Post-Installation Tips
Monitor performance: Pay attention to improved throttle response, horsepower gains, and fuel efficiency.
Maintain the air filter: Clean or replace it periodically to keep airflow optimal.
Enjoy your upgrade: Take your car for a spirited drive and experience the difference firsthand!
Why an Air Intake Induction Kit is Worth It
This upgrade isn’t just about numbers; it’s about transforming how your car feels. From the throaty intake sound to the sharper acceleration, an air intake induction kit is a fantastic investment for enthusiasts who want more out of their vehicle.
With the right tools, preparation, and this guide, you’re all set to tackle this modification like a pro. So roll up your sleeves, get under the hood, and unlock your engine’s true potential!


